Birds in Origami
During the last few month I’ve been sporadically folding origami figures. Beeing a bird person my motives were mostly of the feathery kind.
Both, the paper I was using, and my folding skills were not very good, so I’ve often reached my limits halfway during the instructions in the books.
Frustration: check!
Also I’ve tried wet folding (which means using a moist paper to achieve models which are more three dimensional shaped) which did’t work well because the paper expanded unevenly and also started to break.
ANYWAY, here are some pictures of origami birds


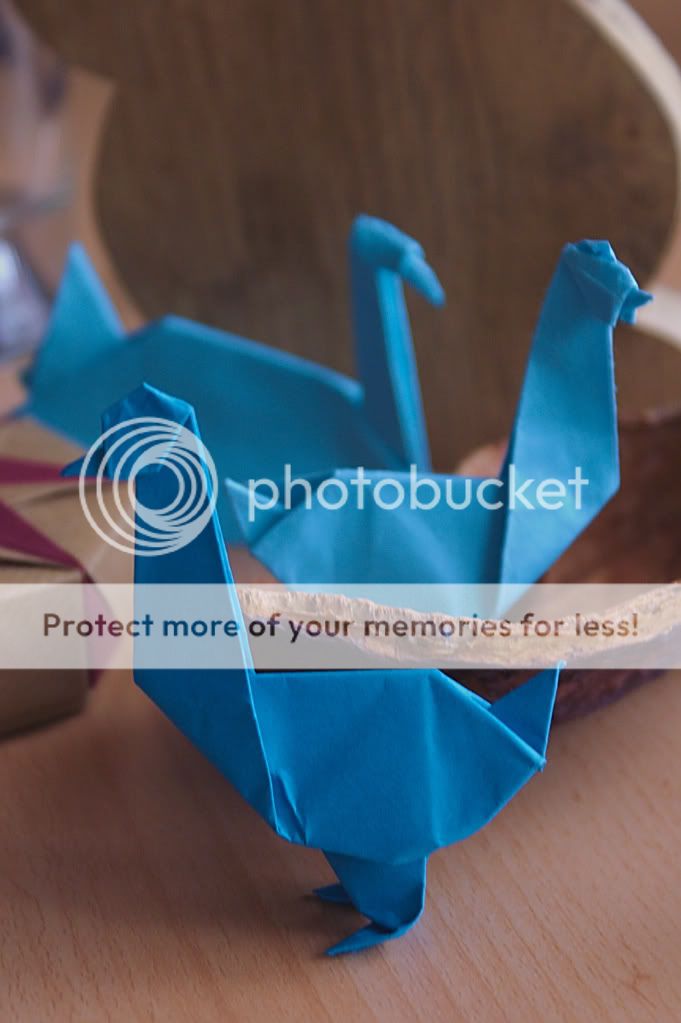
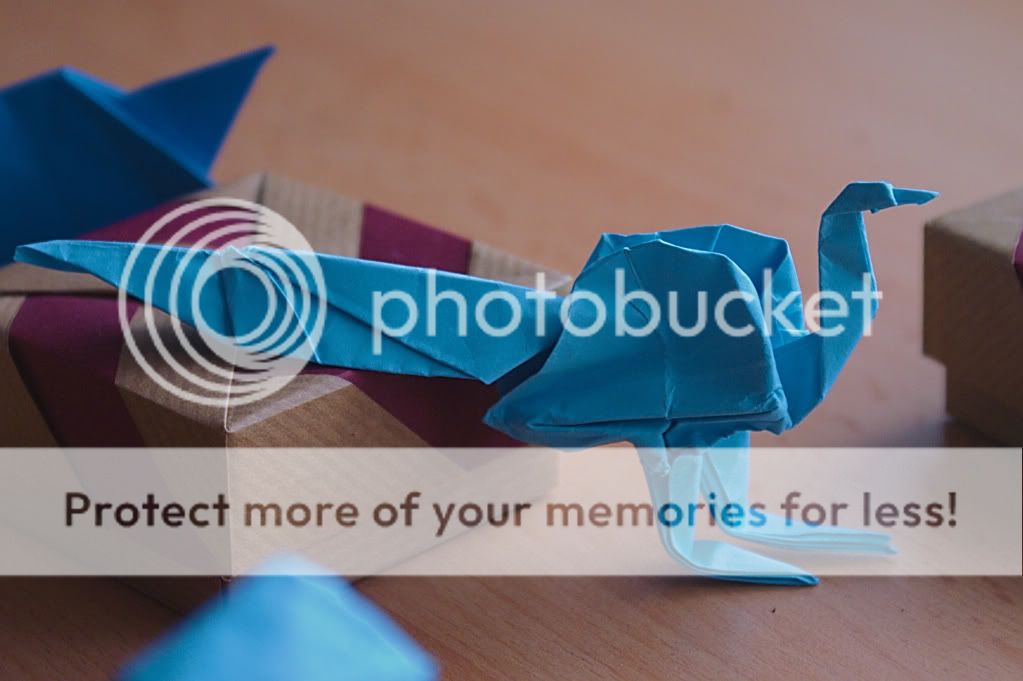


Last week Lindir gave me some original origami paper, which is much more thinner (and comes in more colours) than my cheap handicraft paper. Maybe with origami paper it’s the same as with whisky cola - it’s better when you use the real thing ...
Both, the paper I was using, and my folding skills were not very good, so I’ve often reached my limits halfway during the instructions in the books.
Frustration: check!
Also I’ve tried wet folding (which means using a moist paper to achieve models which are more three dimensional shaped) which did’t work well because the paper expanded unevenly and also started to break.
ANYWAY, here are some pictures of origami birds
Last week Lindir gave me some original origami paper, which is much more thinner (and comes in more colours) than my cheap handicraft paper. Maybe with origami paper it’s the same as with whisky cola - it’s better when you use the real thing ...
Die Rote IRis - 19. Jun, 10:49


I know things can be a bit frustrating at first but it will get better with practice. So don't give up!
As for kami (i.e. origami paper), it's really more fun to fold and it usually gives nicer results. But it's not suitable for wet folding. For that you want a much heavier, sturdier paper like elephant hide or even aquarell or pastel paper.
Basic instructions: Take a large sheet (at least 20 by 20 cm, larger if the model is more complex) because multiple layers will soon get quite thick. Dampen it with a cloth from both sides, but don't overdo it. The paper should feel leathery, not soggy. Then you'll probably have to cut the sheet to a square again since the paper expands unevenly (with and against the grain).
Then fold the model. You might have to redampen the paper from time to time if it begins to feel dry especially at the edges and corners (probably not necessary with simple models). This will allow you to sculpt the model with curves rather than just folds.
When finished, let the paper dry. You might have to fix the shape until then. A hairdryer might accelerate things.
Experience has hitherto not kicked in